

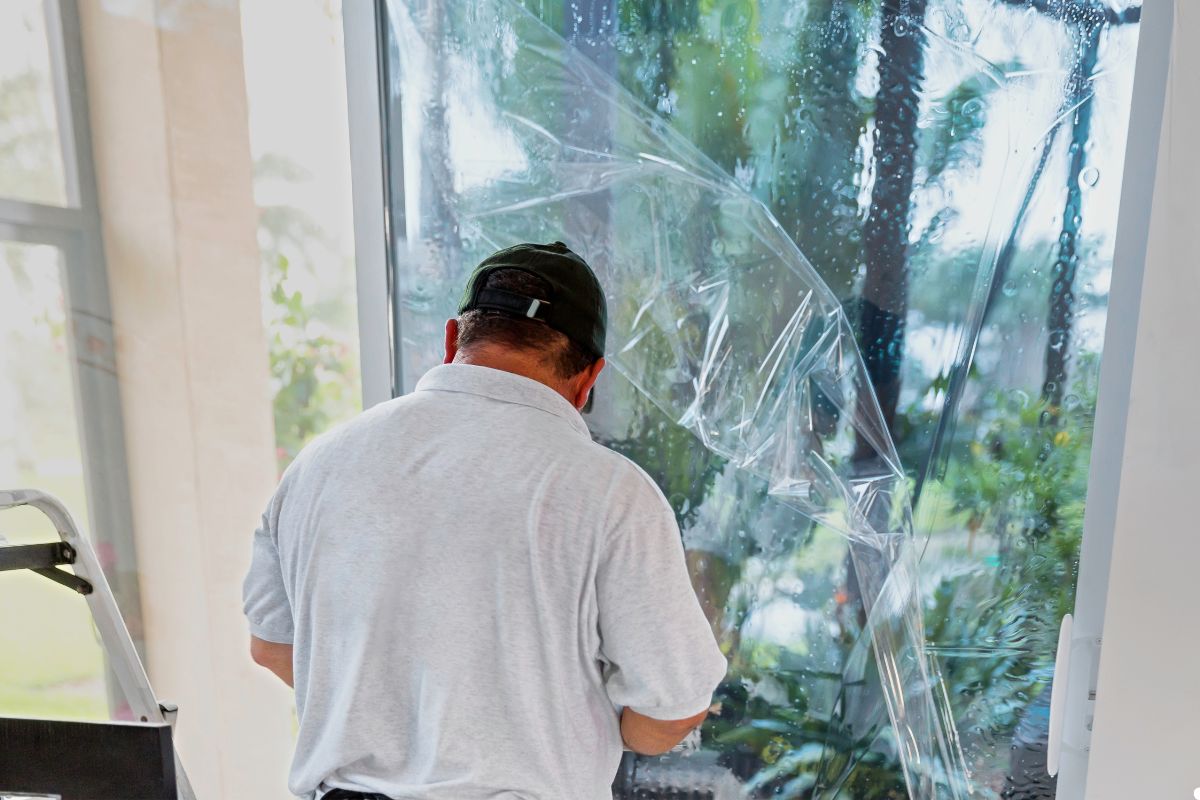
So, you’ve removed that old, peeling window tint. Great! Now comes the less glamorous part: cleaning the sticky residue it left behind. The quickest way to get spotless, streak-free windows after removing tint is to use a combination of scraping, solvent cleaning and quality microfiber cloths. This article provides the details on how to successfully do it and if it feels overwhelming, don’t hesitate to call us for a professional cleaning.
The Sticky Situation: Cleaning Windows After Tint Removal
Removing window tint can be a rewarding DIY project, but the adhesive residue left behind can be a real headache. Ignoring this residue can lead to hazy, unattractive windows that diminish your view and overall appearance. Proper cleaning is essential, not just for aesthetics, but also to prevent long-term damage to the glass. This guide will walk you through the process, step-by-step, to ensure your windows are crystal clear and free of any sticky remnants.
Preparation is Key: Gathering Your Cleaning Supplies
Before you start scrubbing, gather all the necessary tools and supplies. Having everything within reach will make the cleaning process more efficient and enjoyable. Here’s a checklist of essential items:
- High-Quality Window Cleaner: Choose a product specifically designed for glass cleaning. Ammonia-free options are often preferred to avoid damage to window films or other surfaces.
- Microfiber Cloths: These are your best friend for achieving a streak-free finish. Avoid using paper towels, which can leave lint behind. You can purchase these at most stores or online.
- Razor Scraper: A small, handheld razor scraper is invaluable for removing stubborn adhesive. Use it carefully and at a shallow angle to avoid scratching the glass.
- Heat Gun or Hair Dryer (Optional): Applying gentle heat can soften the adhesive, making it easier to remove.
- Adhesive Remover: Commercial adhesive removers are specifically formulated to dissolve sticky residue. Test in an inconspicuous area first. You can find adhesive removers online. Find adhesive removers online.
- Isopropyl Alcohol (Optional): A good alternative to commercial adhesive removers.
The Cleaning Process: Step-by-Step Guide to Sparkling Clean Windows
Now that you’ve gathered your supplies, it’s time to tackle that sticky residue. Follow these steps for a thorough and effective cleaning:
Removing the Initial Residue
If there are large pieces of remaining film or dried adhesive, gently peel them away. If they’re stuck, use a heat gun or hair dryer on a low setting to soften the adhesive before peeling. Be careful not to overheat the glass.
Scraping stubborn adhesive residues
Holding the razor scraper at a shallow angle (around 30 degrees), carefully scrape away the remaining adhesive. Use light, overlapping strokes, and avoid applying too much pressure, which could scratch the glass. Dispose of used razor blades safely.
Applying the cleaner or solvent
Spray the adhesive remover or isopropyl alcohol directly onto the stubborn areas. Let it sit for a few minutes to dissolve the adhesive. If using a commercial adhesive remover, follow the manufacturer’s instructions carefully.
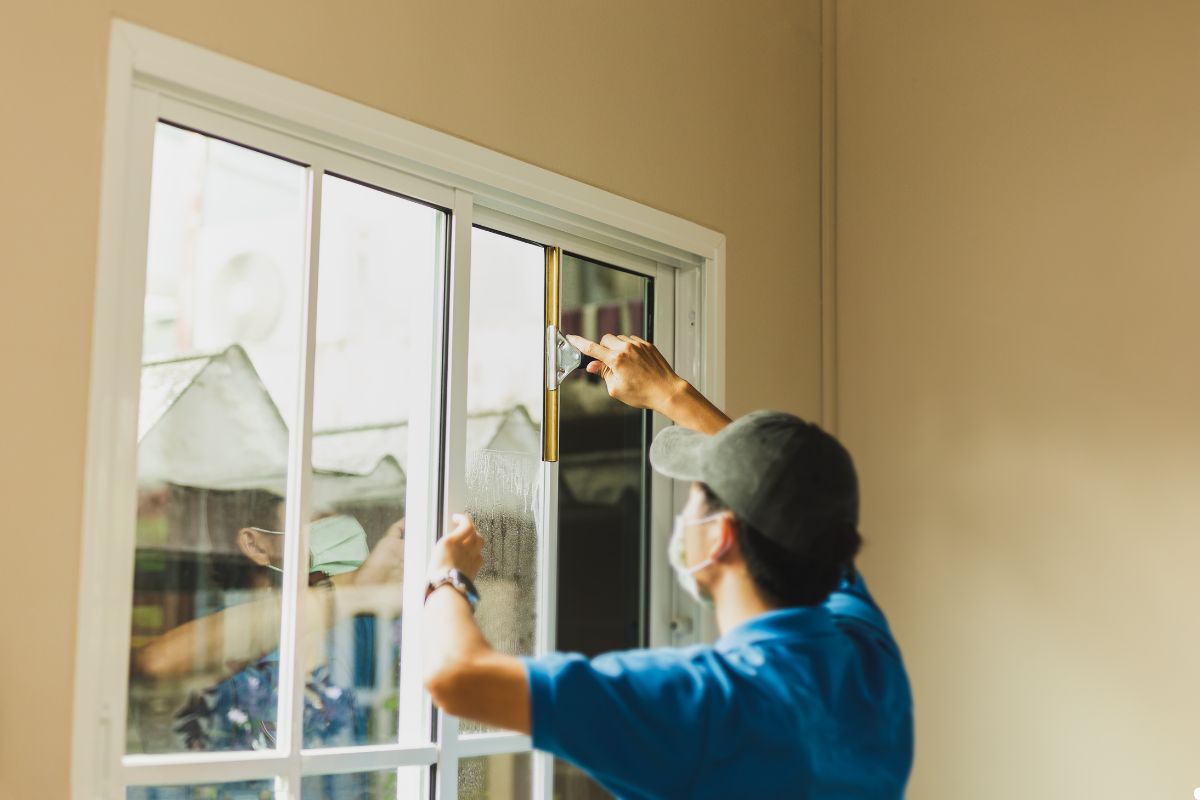
Wiping or cleaning window with microfiber clothes
Using one microfiber cloth, wipe away the dissolved residue. Use a circular motion to ensure you’re removing all traces of the adhesive. Follow up with a clean, dry microfiber cloth to buff the window to a streak-free shine.
Choosing the Right Cleaning Solution
The effectiveness of your cleaning efforts often depends on the cleaning solution you choose. Here’s a breakdown of some popular options:
Homemade Window Cleaning Solution
A simple and effective homemade solution can be made by mixing equal parts white vinegar and water in a spray bottle. Vinegar is a natural degreaser and helps to remove residue without harsh chemicals. Check out our other blog post for more DIY recipes.
Store-bought Window Cleaning Solution
There are many excellent commercial window cleaners available. Choose one that is ammonia-free, especially if you have tinted windows or plan to apply window film in the future. Look for cleaners specifically designed to cut through grease and grime.
Dealing with Stubborn Residue
Sometimes, adhesive residue can be particularly stubborn. Here are some tips for tackling those tough spots:
- Repeat the Process: Apply more adhesive remover and let it sit for a longer period before scraping.
- Use a Plastic Scraper: If you’re concerned about scratching the glass, try using a plastic scraper instead of a razor blade.
- Apply Heat: Gently heat the area with a hair dryer to soften the adhesive before attempting to remove it.
Finishing Touches: Polishing and Maintaining Your Clean Windows
Once you’ve removed all the residue, it’s time to polish your windows to a sparkling shine. Use a clean, dry microfiber cloth to buff the glass in a circular motion. For an extra touch, you can use a glass-specific polishing product. To maintain clean windows, wipe them down regularly with a microfiber cloth and your chosen cleaning solution. This will prevent the buildup of dirt and grime, keeping them looking their best.
Important Safety Considerations
Your safety should always be a top priority when cleaning windows. When using razor blades, always exercise extreme caution to prevent cuts. Wear gloves to protect your hands from cleaning solutions and sharp edges. Work in a well-ventilated area when using chemical cleaners, and avoid mixing different cleaning products, as this can create dangerous fumes. If you are working at heights, ensure you have a stable ladder and follow proper safety protocols.
Pro Tips for a Perfect Clean
- Clean on a Cloudy Day: Avoid cleaning windows in direct sunlight, as the heat can cause the cleaning solution to dry too quickly, leaving streaks.
- Use Two Buckets: One for washing and one for rinsing. This prevents you from spreading dirty water back onto the glass.
- Clean from Top to Bottom: Start at the top of the window and work your way down to prevent drips from dirtying the areas you’ve already cleaned.
Frequently Asked Questions About Cleaning Windows After Tint Removal
Should I Use Ammonia-Based Cleaners?
It is generally not recommended to use ammonia-based cleaners on windows, especially if you plan to reapply window tint or if the windows have any special coatings. Ammonia can damage certain types of films and coatings, leading to discoloration or degradation. For cleaning windows after tint removal, it’s best to opt for ammonia-free cleaners or homemade solutions like vinegar and water, which are gentle yet effective for removing residue without causing harm to the glass or any future applications.
What if I Scratch the Glass?
If you scratch the glass during the cleaning process, unfortunately, minor scratches may be difficult to completely remove without professional help. For very light scratches, you can try using a glass polishing compound with a soft cloth, applying gentle pressure in circular motions. However, for deeper scratches, it’s advisable to consult a glass repair professional who can assess the damage and recommend the best course of action, whether it involves polishing or, in severe cases, replacing the glass.
Enjoy Your Spotless Windows
By following these steps, you can achieve sparkling, streak-free windows after removing tint. The key is patience, the right tools, and a good cleaning solution. Enjoy the clear view and the satisfaction of a job well done! But if the task seems daunting, remember that professional help is just a call away. Contact us today for a free consultation!